Jonas Helming, Maximilian Koegel and Philip Langer co-lead EclipseSource, specializing in consulting and engineering innovative, customized tools and IDEs, with a strong …
CDT Cloud Blueprint: Getting started
Are you looking for a modern, web-based IDE for C/C++ development? Do you want to build a custom, domain specific C/C++ IDE or tool? Then read on. In this article, we’ll show you how to get started with CDT Cloud Blueprint.
CDT Cloud Blueprint is a vanilla tool for C/C++ development based on web technologies. You can download and install it. CDT Cloud Blueprint is not only a tool you can use, it also can serve as a basis to build your own custom C/C++ tools. In this article, we show how to get started with CDT Cloud Blueprint from a user point of view.
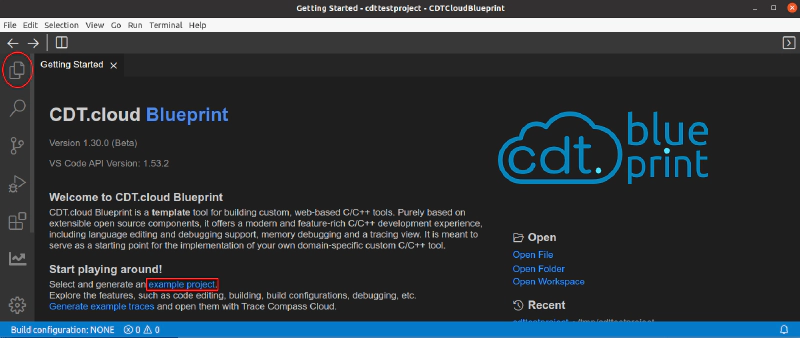
After starting CDT Cloud Blueprint, it will greet you with a welcome page. You can now either:
- Create an example project using the action on the welcome page (marked with a red rectangle in the screenshot below). It allows you to select from three examples, including a CMake project.
- Open an existing C/C++ project using the menu (File => Open Folder)
- Manually create a new C/C++ project using the file explorer (it is marked with a red circle in the screenshot below). Just right click in the file explorer to create new files and folders.
- Or use any custom way, CLI or generator to create a new project. If you want to use a terminal for this, you can open it using the menu (Terminal => New Terminal)
In the following, we assume that you used the CMake example project delivered with CDT Cloud Blueprint.
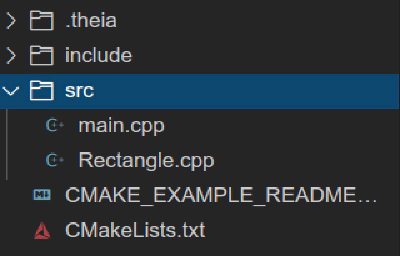
The example project generator will fill your workspace with a fully configured C/C++ project, you can browse the contents in the file explorer (marked with a red circle in the screenshot above). As you can see in the screenshot below, the project also contains a source folder with two .cpp files. You can open them via double click.
CDT Cloud integrates the popular Monaco code editor to show source files. Furthermore, it integrates the clangd language server for supporting C/C++ as a programming language. This combination supports features such as syntax highlighting, auto completion, refactorings and code navigation. If you open a source file, e.g. “main.cpp” in the example project, you will notice that static syntax highlighting immediately works (see screenshot below). However, you will also notice that some imports are not yet resolved and there are errors shown in the sources. This is because the project was never built. The example project defines a build task for this purpose. Just open the quick access bar via “F1” and start to type “Task: Run Build Task”. As you can observe on the task output console, the project will now be built. After reopening the “main.cpp” file, all errors are gone. Also, auto completion now works, taking all project-specific libraries into account.
The example also defines a task to execute the program. To do so, just open the quick access bar again via “F1” and start to type “Task: Run Task..”, hit enter and select “Launch Example C++” (see screenshot below). This will execute the example program and open a console displaying the output.
In the next post, we will show how to access frequent actions such as the build or execute task in an easier way, using the dynamic toolbar of CDT Cloud Blueprint. Follow us on Twitter to get notified about future articles.
If you are interested in building a C/C++ tool or migrating an existing one to a modern technology stack, EclipseSource has many years of experience in developing custom C/C++ tools. We can assist you in the conception phase, and also the design and the development of your toolchain. Please have a look at our service offering for tools and web-based tools.