Crossing boundaries with the new Android transitions
December 12, 2013 | 3 min ReadA few weeks ago I posted a blog post about how to create animations using the ViewOverlay introduced in Android 4.3. Fast forward to today and we have a new Android version: Android 4.4 (KitKat). This latest edition brings a set of new, animation-centered APIs called “transitions”. +Chet Haase created a great dev byte series video explaining what transitions are and how they can be used. In addition +Mark Allison picked up on the framework and created a great multi-part blog series on the topic.
So what are transitions? Basically it is a mechanism to create animations automatically when your view hierarchy changes. For example, when you remove a button from your UI, instead of just vanishing, the button fades out. Similarly, you can change the order of views, but instead of just updating the position instantly, the views transition to their new positions.
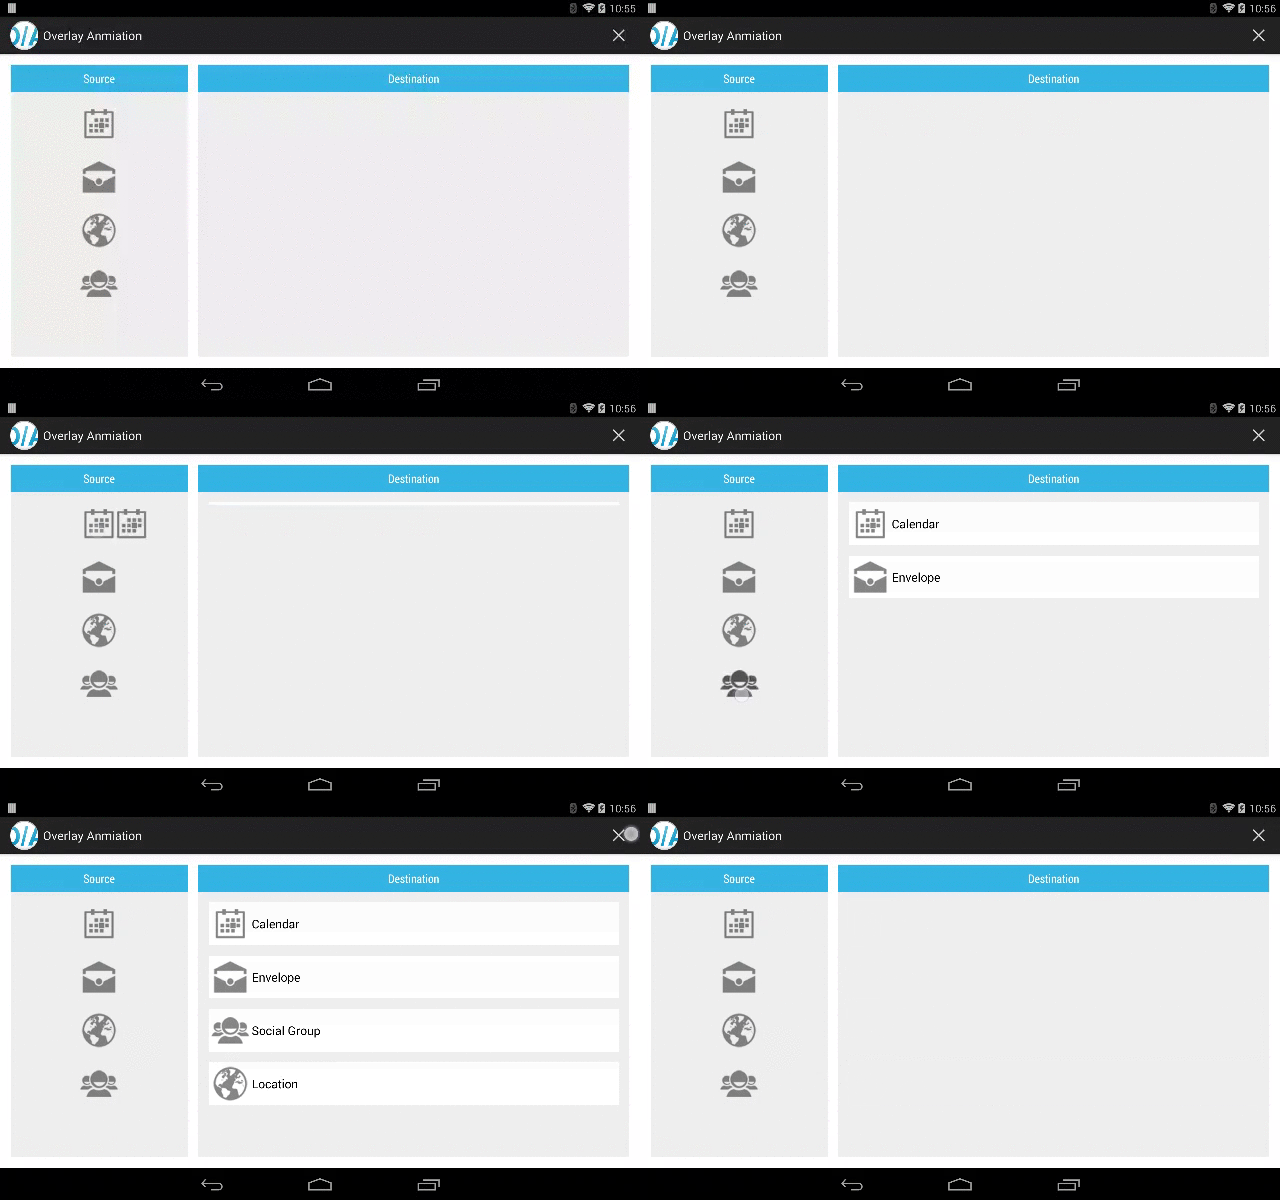
Coming back to my previous blog post, I discussed how we can animate the transition of a view from one parent to another using the ViewOverlay. While the ViewOverlay made it much simpler than before, it got even easier with transitions. Here is a video of the new implementation:

So what does the implementation look like this time around? Much simpler thanks to the transitions:
  @Override
  public void onClick( View v ) {
    final ViewGroup entryView = createEntryView();
    ChangeBounds changeBounds = new ChangeBounds();
    changeBounds.setReparent( true );
    changeBounds.addListener( new TransitionAdapter() {

      @Override
      public void onTransitionEnd( Transition transition ) {
        entryView.findViewById( entry.getId() ).setId( -1 );
      }
    } );
    TransitionManager.beginDelayedTransition( rootView, changeBounds );
    destContainer.addView( entryView );
  }
Animating your views is as easy as calling TransitionManager.beginDelayedTransition( rootView) before making changes to your view hierarchy. In our example we also specify a custom ChangeBounds transition animation because we need to set reparent to true.
The snippet also uses a listener to do some cleanup after the animation. This is a requirement since the system is looking for matching view id’s when determining the views to animate. In our case the id of the icon to the left has to be the same as the icon of the newly added entry. Because we can add the same icon/entry multiple times we have to remove the id so that it is unique when another item is added. We wouldn’t need to update the id, if the source and destination elements had a 1:1 relationship.
The complete source code of the example can be found in the gist: https://gist.github.com/mpost/7925938
Conclusion
The new transition mechanism is really helpful in creating animations. The example showed how to use transitions to seamlessly animate random view changes. A shortcoming of the approach is that you cannot directly control how individual elements are animated. In the example a ChangeBounds transition was used which is great for the moving image but it is also applied to the destination container. A fade animation would have been more pleasing.
[ Want to develop mobile apps faster? Try Tabris. Download the 30-day trial. ]
In addition to the automatic view animation tracking, transitions also handle something called scenes. A scene represents a view hierarchy and allows you to transition between different scenes via animations. Also a very powerful tool, scenes are explored in detail in the blog series by +Mark Allison, linked above.
What are your experiences with creating animations in Android? Feel free to comment on this blog.