Dr. Jonas Helming is CEO of EclipseSource as well as consultant, trainer and software engineer. His focus is on web-based tools, IDEs, and tailored AI assistance in tools …
EMF Client Platform: Make It Happen! Day 0 and 1
June 13, 2013 | 3 min ReadThis part of the series describes how to get started with the EMF Client platform.
The EMF Client Platform is a framework that allows you to create and iteratively develop applications very efficiently starting with the bare description of the data entities of your application (e.g., as an EMF model or an XML Schema Definition). From the very start, the EMF Client Platform will provide you with a fully functioning application, including UI editors and a backend, everything based only on the data model.
Because frameworks are easier to explain and demonstrate with a real-world example, we are providing an example application for the EMF Client Platform called “Make It Happen”. It is a very basic ToDo management application with a simple data model containing tasks and assignees. The example application is enhanced in different parts of the EMF Client Application and, therein the features of the framework are described. Every step provides a link to the respective tutorial that explains in detail how to implement the requirements using the EMF Client Platform.
This blog post will describe day 0 and 1 on a conceptual level.
Day 0: Creating the Model
Every EMF Client Platform application starts with an EMF model. In fact, creating a model is already enough to start a fully functioning application that is capable of creating, modifying, storing and browsing instances of this model. Creating a model is not directly related to the EMF Client Platform, so we will call this step “day 0”. Day 0 is basically about defining the data entities of your application. On day 1, we will launch the application and enjoy all the features that are there without any additional effort. In this tutorial, we describe how to create the example model including different possibilities for your custom model. If you are already familiar with EMF, you can actually skip day 0 and continue with day 1.
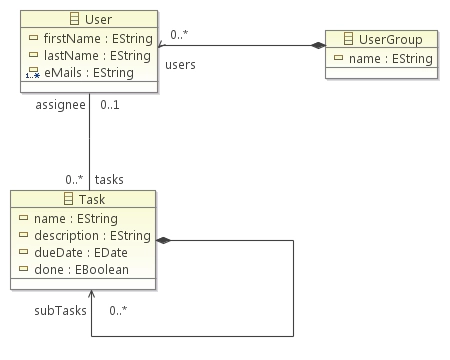
For the example application “Make It Happen”, we have chosen a very simple model containing two entities: Task and User. Tasks can form a hierarchy with subtasks and can be assigned to users.
A model of the example application “Make It Happen”.
Please refer to this tutorial to learn how to create models in EMF. Alternatively, you can use the example above and continue with day 1.
Day 1: Start the Application
After creating the model shown above, you can immediately start the first version of the “Make It Happen” application without any additional configuration or code generation. This tutorial describes how to install the EMF Client Platform, launch the application and enjoy all the features that are there without any additional effort.
This first application already supports a lot of features such as:
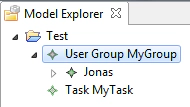
Model Explorer: Showing the hierarchy of model instances, grouped in projects, which allow users to create new elements and change the hierarchy using drag and drop:
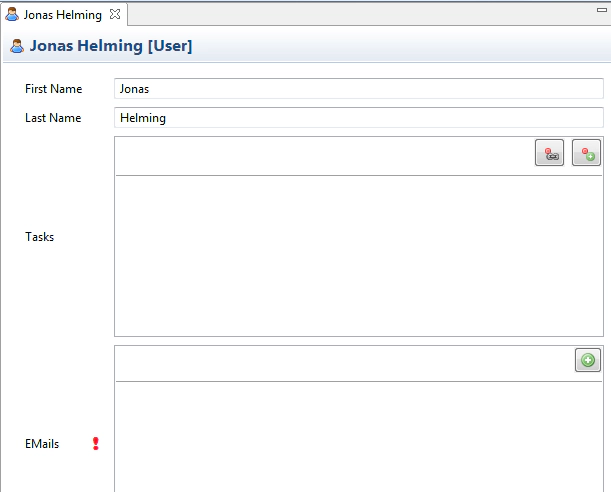
Editor: Showing one model element instance, selected in the Model Explorer. Allows users to modify attributes and references of one model element:
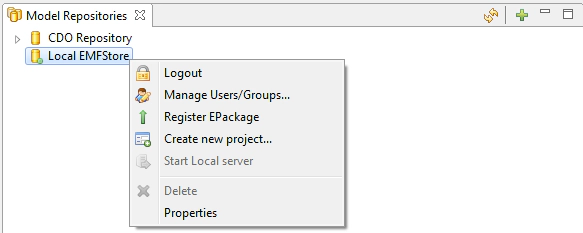
Repository Explorer: Showing data sources from which entities can be retrieved, e.g., local files, EMFStore, CDO or a database:
Please see the complete tutorial describing all available features in detail and explaining how to set-up the EMF Client Platform with a custom model.
If you prefer to create your own custom model, please refer to the tutorial describing how to create EMF models.
Please use the links below to see all posts in this series:


