
RAP Project Lead at EclipseSource
Making your images available using markup
In RAP v1.5 we introduced markup support for several widgets. One of the most frequently asked questions about markup support is: “Why are my images not displaying?”. In this blog post I will give you a step-by-step guide on how to make your images available using markup.
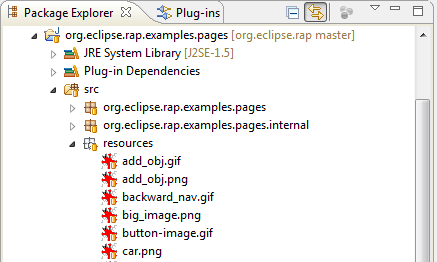
Save your images in your bundle source folder. In this example the images are located in “src/resources”.
Register your image resources and make the location available to your application.
private String carImageLocation;
private String fuelImageLocation;
private String gearImageLocation;

private void registerImages() {
  try {
    fuelImageLocation = registerImage( "resources/fuel.png" );
    gearImageLocation = registerImage( "resources/gear.png" );
    carImageLocation = registerImage( "resources/car.png" );
  } catch( IOException exception ) {
    throw new RuntimeException( "Failed to register images", exception );
  }
}

private static String registerImage( String resourceName ) throws IOException {
  IResourceManager resourceManager = RWT.getResourceManager();
  if( !resourceManager.isRegistered( resourceName ) ) {
    InputStream inputStream = CLASSLOADER.getResourceAsStream( resourceName );
    if( inputStream == null ) {
      throw new RuntimeException( "Resource not found" );
    }
    try {
      resourceManager.register( resourceName, inputStream );
    } finally {
      inputStream.close();
    }
  }
  return resourceManager.getLocation( resourceName );
}
Create your image markup by adding the application context path.
private String createGearboxImageTag() {
  String imageUrl = getImageUrl( gearImageLocation );
  return "";
}

private static String getImageUrl( String location ) {
  return RWT.getRequest().getContextPath() + "/" + location;
}
Enable markup support on your widget and set the markup text.
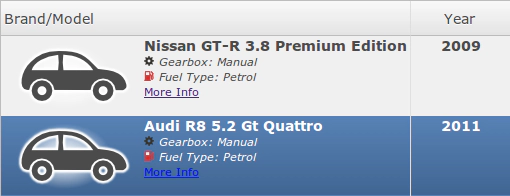
Table table = new Table( comp, SWT.FULL_SELECTION | SWT.BORDER );
table.setData( RWT.MARKUP_ENABLED, Boolean.TRUE );
table.setData( RWT.CUSTOM_ITEM_HEIGHT, Integer.valueOf( 80 ) );
...
item.setText( markupText );
Finally…. enjoy your images!
The complete code is available in our Examples Demo in RAP Git repository.